Рекомендуем

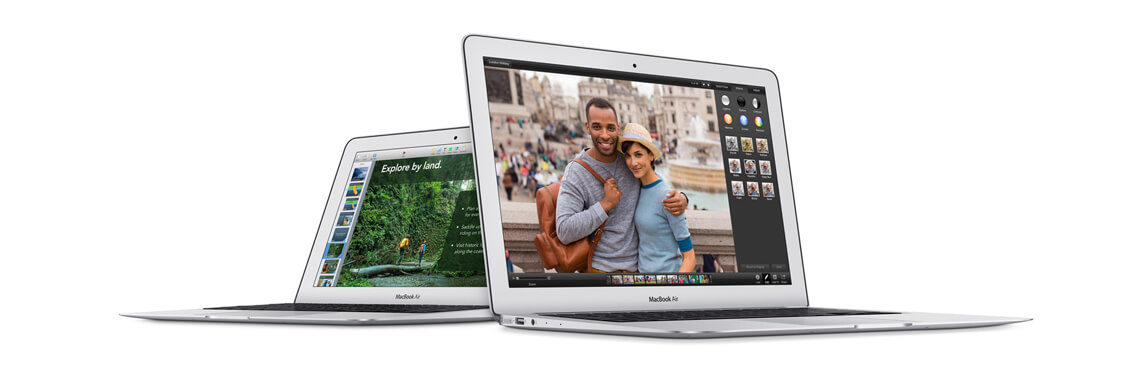
MacBook
Intel Core 2 Duo processor Powered by an Intel Core 2 Duo processor at speeds up to 2.1..
600.00р. Без НДС: 500.00р.

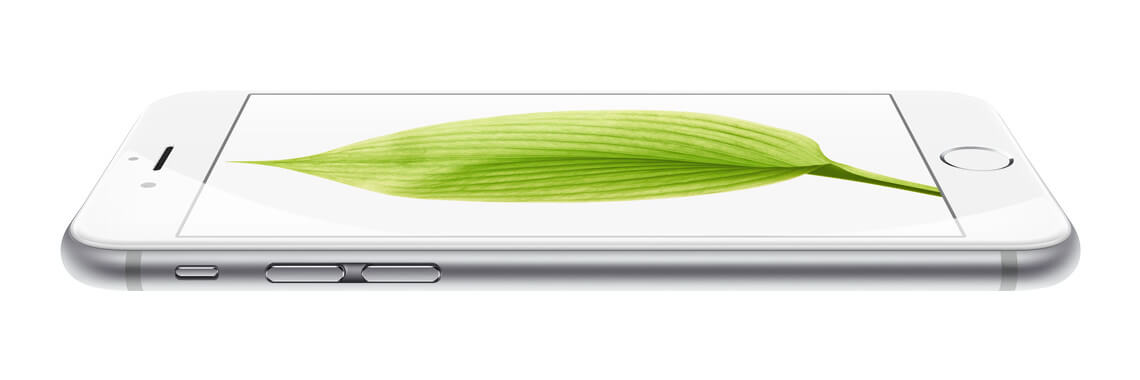
iPhone
iPhone is a revolutionary new mobile phone that allows you to make a call by simply tapping a nam..
121.20р. Без НДС: 101.00р.

Apple Cinema 30"
The 30-inch Apple Cinema HD Display delivers an amazing 2560 x 1600 pixel resolution. Designed sp..
108.00р. 120.00р. Без НДС: 90.00р.

Canon EOS 5D
Canon's press material for the EOS 5D states that it 'defines (a) new D-SLR category', while we'r..
96.00р. 120.00р. Без НДС: 80.00р.